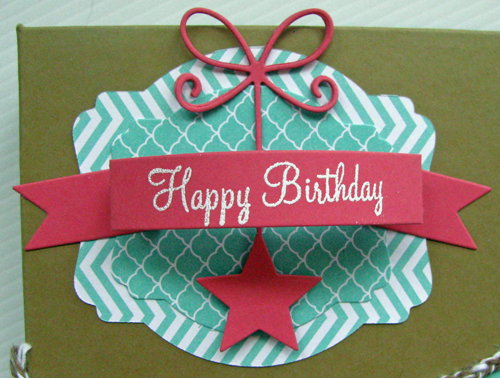
Here is a birthday card I made for my friend Fiona who works with me.
The green paper, sentiment stamp and tag are from Kaiser craft.
Quatrefoil die is Papertrey Ink which has been die cut from Pool Party paper with Pool party seam binding both from SU.
This are Lauren and Damian on Valentines Day, photo taken at a restaurant in Brighton.
Apologies for the wonky photo editing, some days I get it spot on and other day,well, I think you can see!!
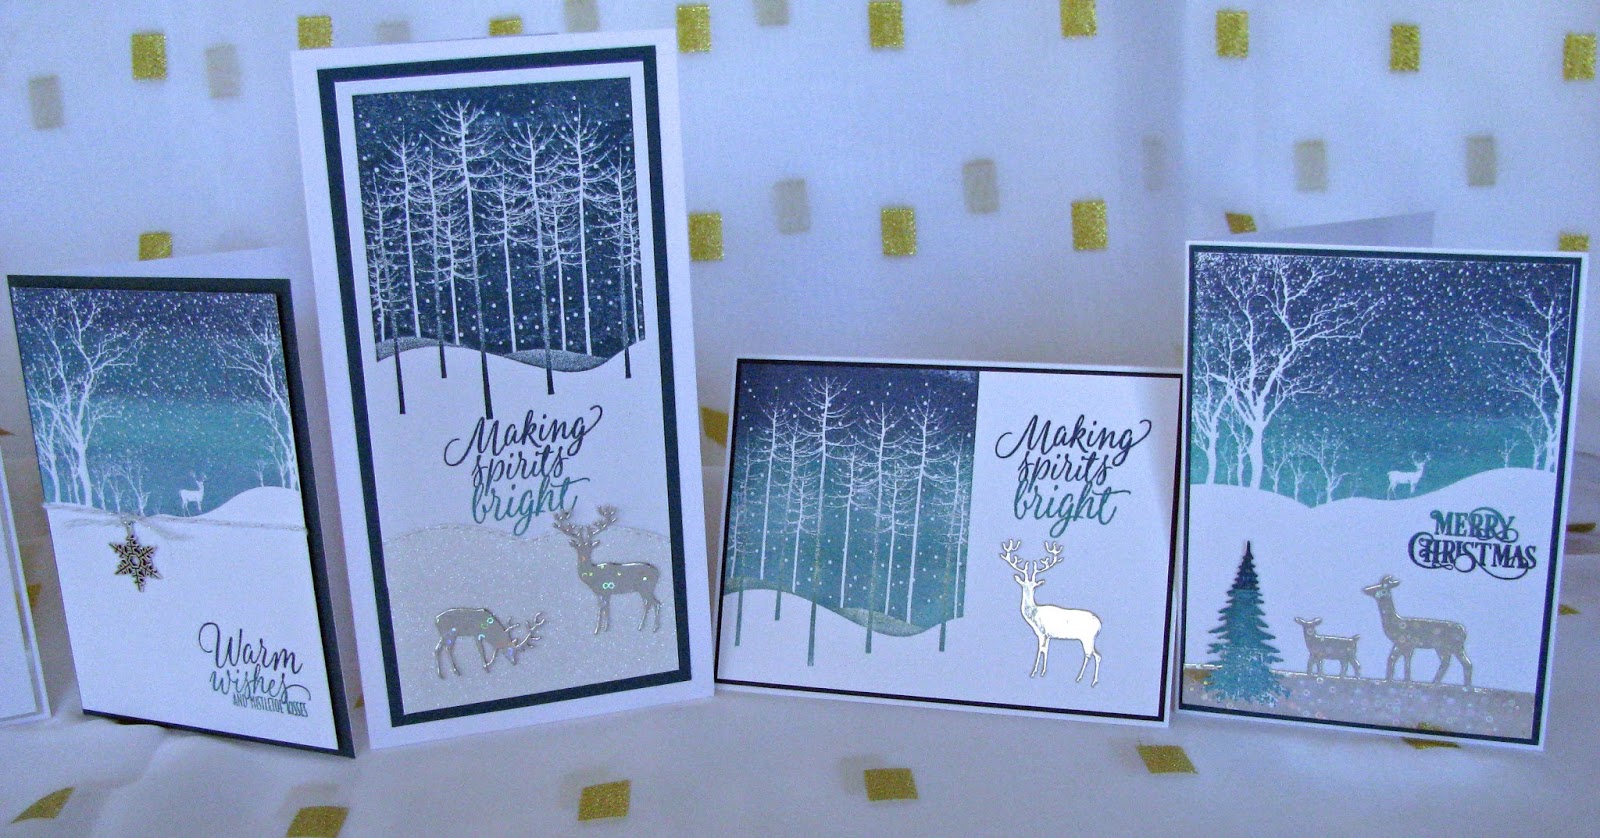
Paper and Ribbon SU
Bird and Cameo - Websters pages
Flourish die - Papertrey Ink
Chipboard sentiments - This and That by Echo Park
Title cut on my Silhoutte


 Love this stamp set - Delightful Dahlias (and the additions set) another Papertrey Ink design. Stamped on Stampin Up! cardstock, Pink Pirouette with Real Red and Cherry Cobbler as the accent colours. The leaves are Lucky Limeade and Old Olive. Die cut leaf swirl from Fancy That dies.